After putting together a couple of saw horses, my first actual project was an outdoor garden bench. I found the idea via a video on YouTube and liked the approach. This allowed me to build the bench with nothing but a handsaw, electric drill, speed square, measuring tape, and the actual lumber.
Let’s break down this bench starting with the materials you’ll need.
Table of Contents
- 2×4 Garden Bench Material List
- 2×4 Garden Bench Cut List
- Cutting and Assembling the Legs
- Cut and Assemble the Bench Seat
- Cutting and Attaching More Braces
- Sanding and Finish
2×4 Garden Bench Material List
- 2″ x 8″ x 8′ (1)
- 2″ x 4″ x 8′ (3)
- 2 1/2″ Exterior Screws (#8 or #9)
As you can see, this project is really easy and only requires you to buy four different boards of lumber. All dimensional wood, you’ll want to purchase a 2×8 that is 8 feet long and three 2x4s that are 8 feet as well. We will be cutting the 2×8 down and using that for the top. Which will leave the 2x4s getting cut to various lengths for use building the legs and cross braces.
This will all be put together with a number of exterior screws. You’ll want them to be 2.5 inches in length, so they have enough bite to hold the wood together without punching through the other side.
2×4 Garden Bench Cut List
- 2″ x 4″ x 15″ (4) = Legs
- 2″ x 4″ x 10″ (4) = Braces
- 2″ x 4″ x 15″ (4) = 45-Degree Braces
- 2″ x 8″ x 46″ (2) = Bench Seat
This easy 2×4 garden bench can be done entirely with a handsaw. It will take you longer to complete than if you had used a circular saw (or a miter saw) but I completed this project with a basic Stanley FatMax handsaw and plastic miter box. The miter box is even optional as all of your marks can be done with a speed square (both 90-degree and 45-degree cuts).
On the 45-degree braces, you’re going to want the outer corners of the piece to measure 15 inches long.
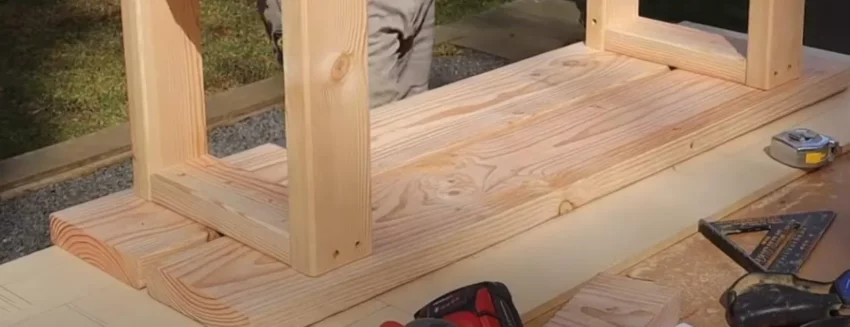
Cutting and Assembling the Legs
So first up we’re going to be cutting the four legs and four braces (regular 90-degree cut braces) right off the bat. It’s as simple as using your measuring tape and making the mark. Then follow up with your speed square and draw the straight line for you to cut. Line everything up and begin hacking away. You could even do these cuts with a jigsaw if your blade was long (and sharp) enough (opt for a 4-inch blade if you go that route).
Just remember where your kerf line is going to be and always have that in your waste side of the board
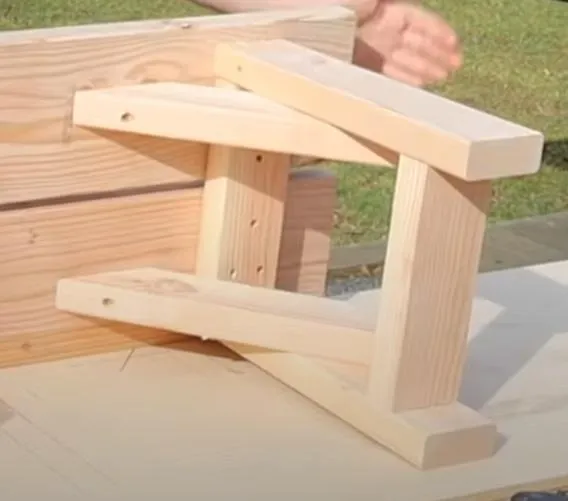
When putting together two legs and two braces, make sure the brace at the top is flush with the two legs. Then, when you line up the bottom brace, measure up two inches from the top (or about 14% of the total length of the legs). You will then want to line up that bottom brace with the line you just marked so that the bottom of the board touches the bottom of your line. Be sure to reference the image if you have any doubts.
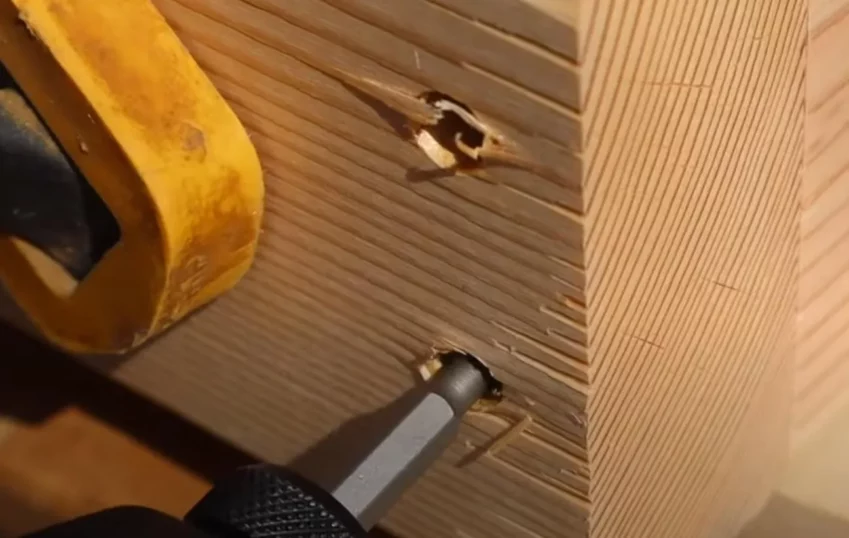
Screw each brace to each leg with two screws, spaced about a quarter of an inch to an inch from the edge.
It’s also a good idea to drill some pilot holes for each of them. It’s certainly isn’t required, but it can help to prevent the wood from splitting. It’s also a good idea to be liberal with your clamps here as well. keeping these pieces in place is vital when you go between drilling pilot holes and screwing them together. I had a few of them keeping everything in place so I was able to pick it up and rotate it for better angles.

Cut and Assemble the Bench Seat
Next we’re going to take that 2×8 and cut it into two equal pieces. We’ll take that full 96″ board and cut it into two 46-inch pieces. Inspect both ends of the board and cut off the one you think looks worse. Then start from the good end, and cut a 46″ piece. Take that board and lay it on top so that you can use it as a template. This will allow those pieces to be the same length so even if your cut was wrong, they will be the same length.
Then take a look at the front and back of these boards, and put the good side face down.
Space them about 1/2-inch to 1″ apart on your workbench. Then you need to place your assembled legs onto the bottom side of the seats you just cut (which will be facing up right now). Again, refer to the image above if I’m having difficulty describing this placement. You will want to measure out about four inches from the edge, and then line the outside of your brace with that marked line.
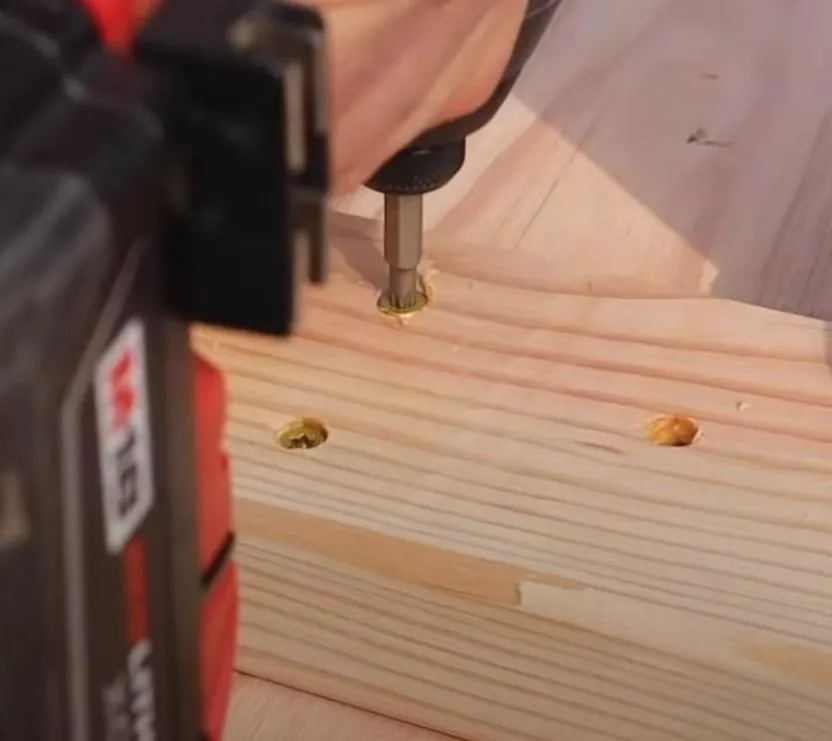
Each brace will be screwed into to each seat board with 3 different screws. Giving each brace six total screws that will keep the legs attached to the seat. And as long as you bought the proper length screws, and didn’t drive them in too deep, then you won’t have any peaking through the top of the bench.
With this part done, you can flip the bench right side up and actually use it.
However, we can make this bench much more durable and much more stable with a few 45-degree braces. It will even add more to the design than if you had left it as is. Which, in my opinion, makes it look so much better than having four 2×4 legs sticking out the bottom of the bench.
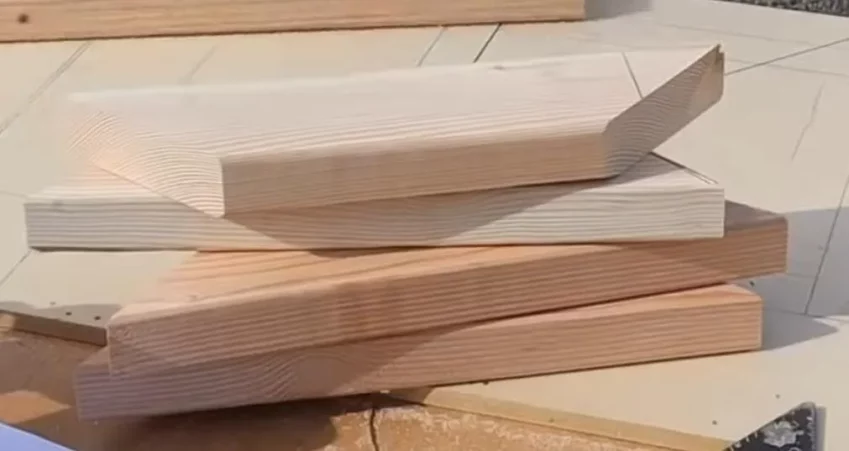
Cutting and Attaching More Braces
So the last thing we’re gong to do is cut four more pieces of wood. Each will have 45-degree miter cuts from both sides to help keep things lined up. Remember, we want the longest parts of these braces to be 15-inches long. This will allow it to be long enough for it to be screwed into the seat and the leg at the same time. These should be lined up on the inside of the legs too (since there isn’t much room on the outside of the legs).
This length also allows the piece to clear the other brace that’s attaching the legs to the seat.
You’re only going to need two screws for each 45-degree brace. This will enable you to attach the brace to the seat with one screw and then use another screw to attach the brace to the leg. Continue this for all four of these mitered braces and you’re going to have an incredibly sturdy bench. Give it a couple of shakes to see if it’s level. . .and then have a seat if you feel confident enough that it will hold your weight.
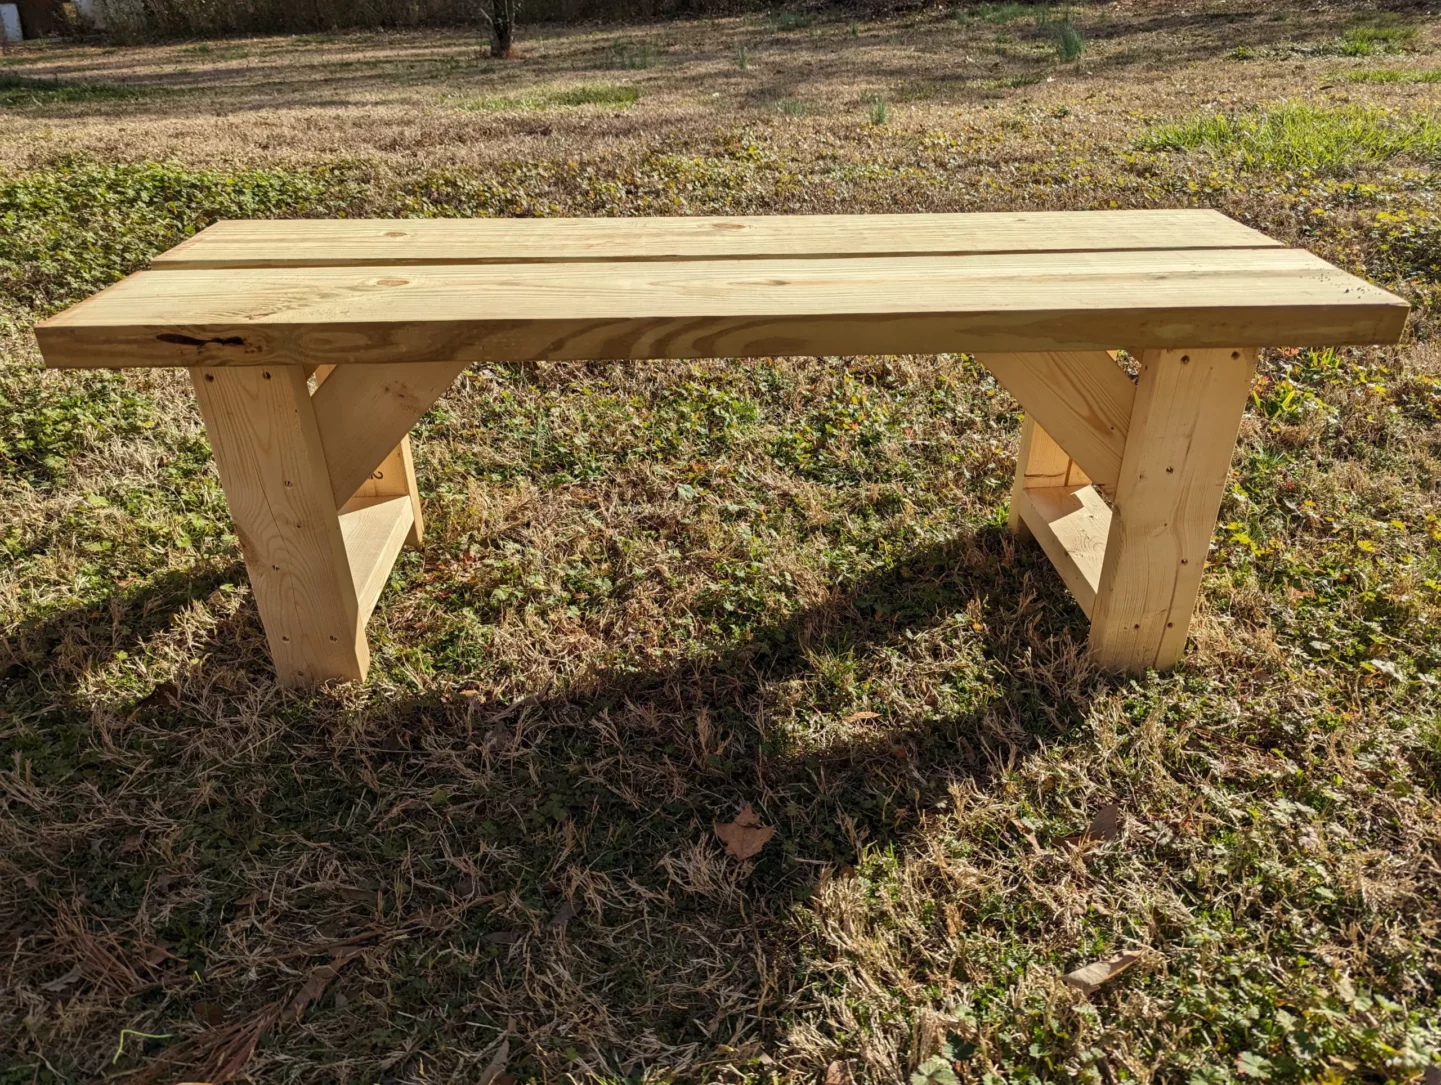
I was really surprised at how hefty this bench is and how much it can handle.
Sanding and Finish
Some people will recommend that you paint or finish the individual pieces before they are assembled. Which is definitely the ideal option with certain projects. I had only planned to paint the bench with an exterior latex color (we went with a shade of green) so once the bench is completed the next step is to sand it all.
Not only will this help to make the wood softer to touch (with less splintering), but you can also take this time to sand over the edges as well.
The sanding also helps the paint to adhere to the wood, though, so it’s a good idea either way. Be sure to wear a mask when sanding and try to use a random orbital sander if you’re able to. I have a 15+ year old one from Bauer, so you can get by with any affordable brand.
Then get ready to paint it because it will only last so long outside in its current condition. Again, I went with an exterior latex paint (that was also a primer) but you may end up needing to do a primer coat first if you don’t have the same type of paint. It’s really important to let the end caps of each piece of wood soak up as much of the paint as possible. This is where you’ll lose (or regain) moisture with the feet being most susceptible.