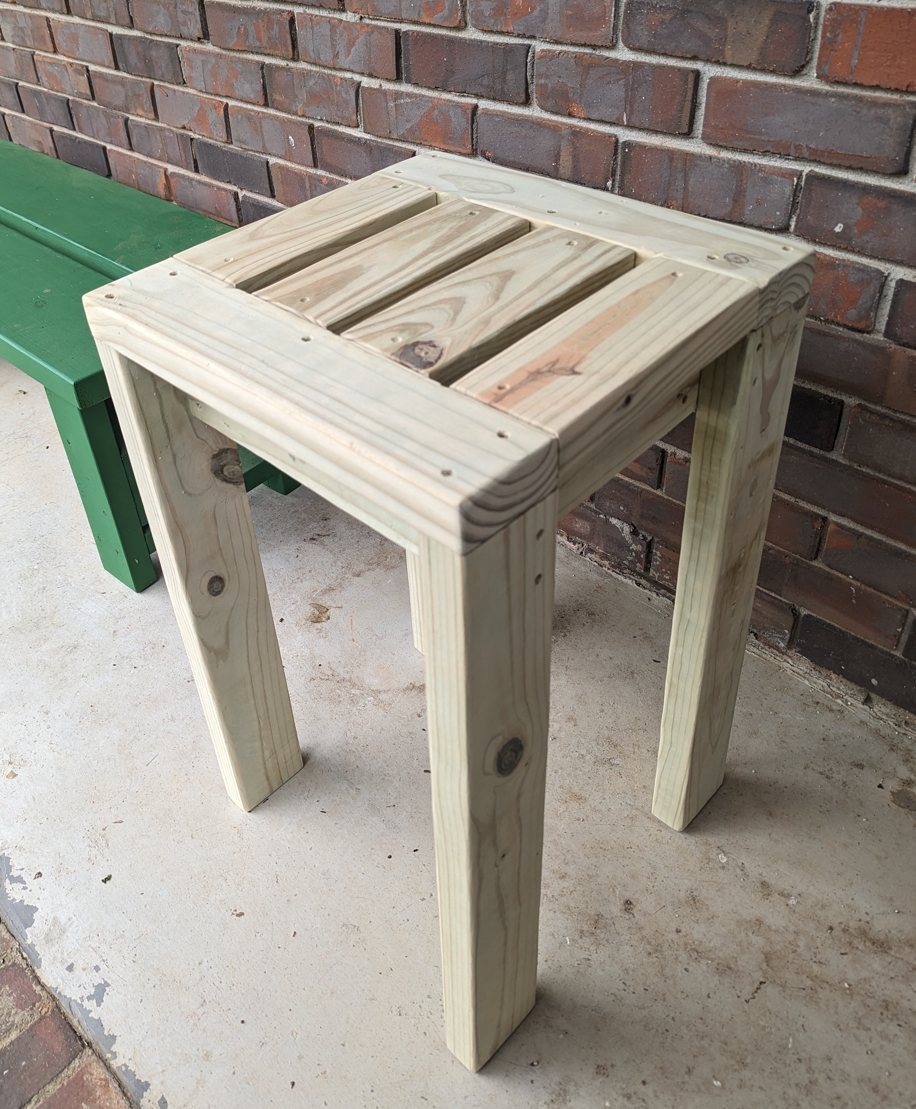
Now that we have a bench for the front porch, it felt like there was something missing. So my girlfriend thought having a couple of side tables next to the bench would be a good fit. Again, we’re keeping things simple so the only lumber we’re using in this project is some 2x4s. You’ll need at least 3, but you may want to pick up a 4th just in case.
Table of Contents
- 2×4 Outdoor Side Table Material List
- 2×4 Outdoor Side Table Cut List
- Cutting and Assembling the Legs
- Cutting and Assembling the Inner Frame
- Attaching the Inner Frame to the Legs
- Attaching the Top Boards to the Inner Frame
- Sanding and Finish
This list will be quite short, but let’s go ahead and plan out our material list.
2×4 Outdoor Side Table Material List
- 2″ x 4″ x 8′ (4)
- 2 3/4″ Exterior Screws (#8 or #9)
I only used three 2x4s for each of the side tables I built for our front porch since my end goal was only to have a 1′ x 1′ table. So if that’s your goal, then you’ll only need 3. If you’re wanting something larger, then a fourth will be required.
In any case, it’s always better to have an extra board or two on hand than being forced to go get one at an unexpected time.
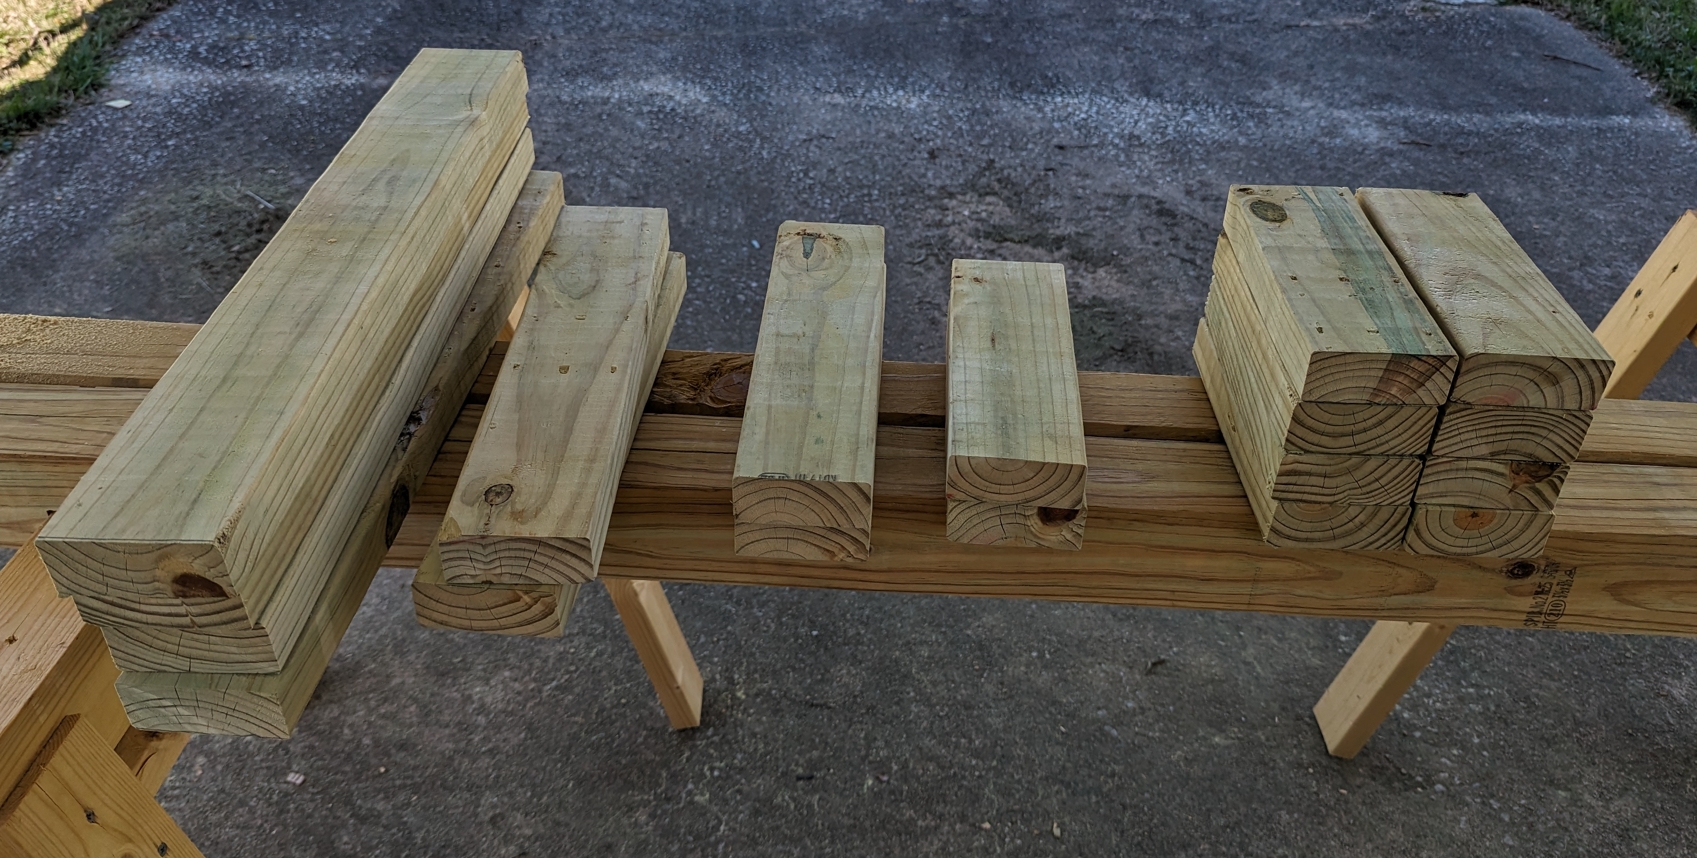
2×4 Outdoor Side Table Cut List
I used my 6 1/2″ Milwaukee circular saw for these cuts, but you could also use a handsaw as well. When I was building my saw horses (the first project of mine), I only used a basic Stanley FATMAX Hand Saw. The only difference is that the cuts take longer when you’re not using power tools.
- 2″ x 4″ x 10 1/2″ (4) = Legs
- 2″ x 4″ x 12″ (2) = Top
- 2″ x 4″ x 9″ (2) = Leg Side Aprons
- 2″ x 4″ x 6″ (2) = Inside Frame
- 2″ x 4″ x 5″ (8)- Top Boards and Open Side Aprons
Notes:
– For the Legs – You’ll want to take 1 1/2″ from the overall height you’d like the side table to be.
– For the Top – This length should be the overall depth you want.
– For the Leg Side Aprons – This will be 3″ less than your overall depth.
– For the Inside Frame – This will be 6″ less than the overall depth.
– For the Top & Open Side Aprons – This will be 7″ less than the overall width.
Cutting and Assembling the Legs
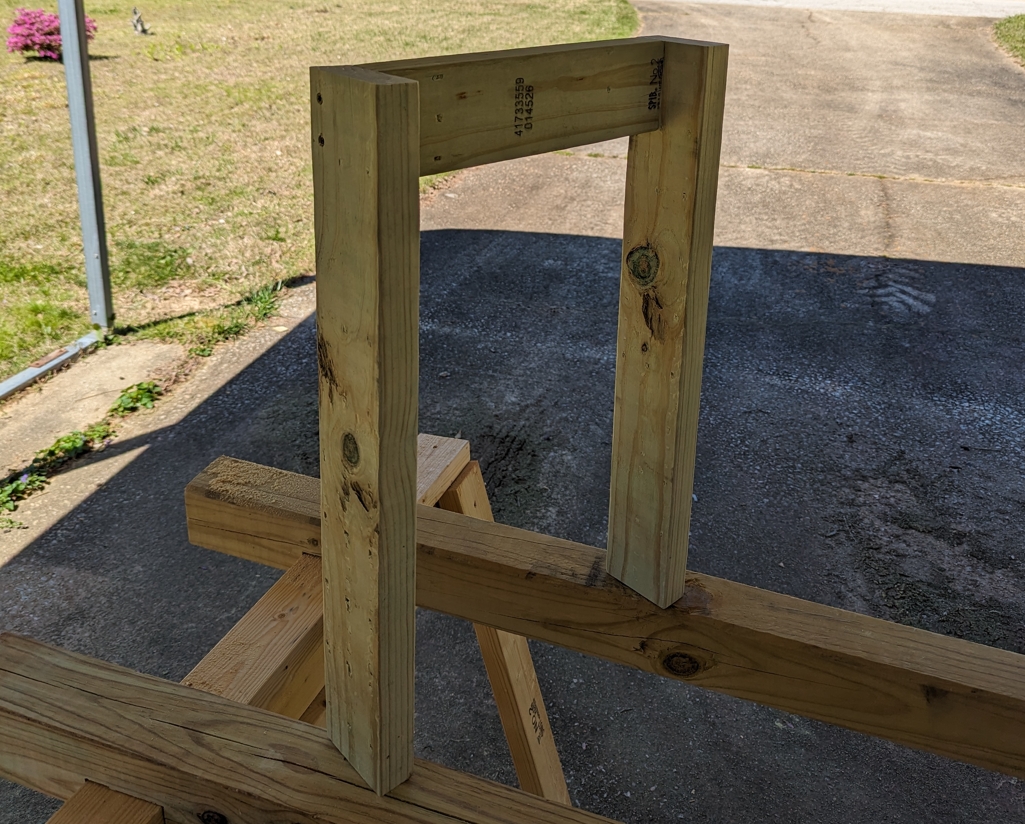
As you saw in this tutorial, I went ahead and did all of my cuts at once. However, the only things we need to cut first are two Legs and a Side Apron (see image above). Once they are cut to the desired length, clamp them together (if you have the clamps) or you could brace two pieces together and then attach them with screws. We’re only using two screws per joint. . .just be sure to pre-drill your holes.
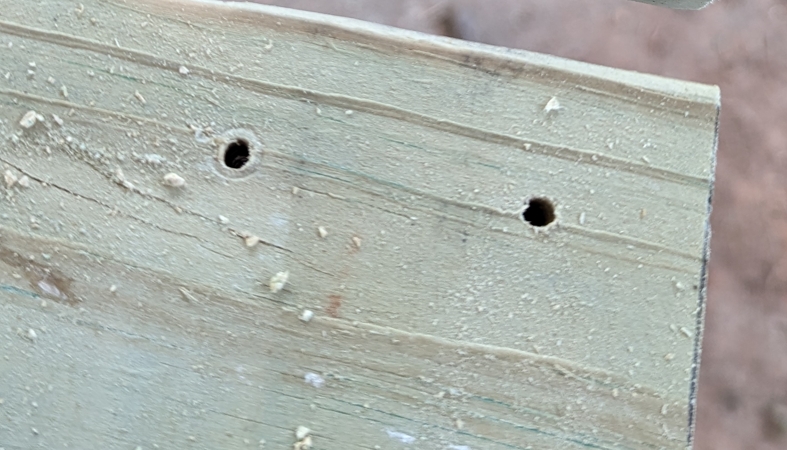
This will help to prevent splitting cheap pine that usually come as 2×4 dimensional lumber.
Then you’re going to want to attach the other leg to the empty side of the Side Apron. Again, either use some clamps to keep them together while inserting your screws or try the balancing act to keep them in place. I don’t have a big workbench that is level right now so using clamps were a bit difficult for me. I kept wishing I had some parallel clamps for this job as my pipe clamps just weren’t able to get the job done comfortably.
So instead of spending the money on expensive clamps right now, I’m waiting for deals and getting by with what I can afford.
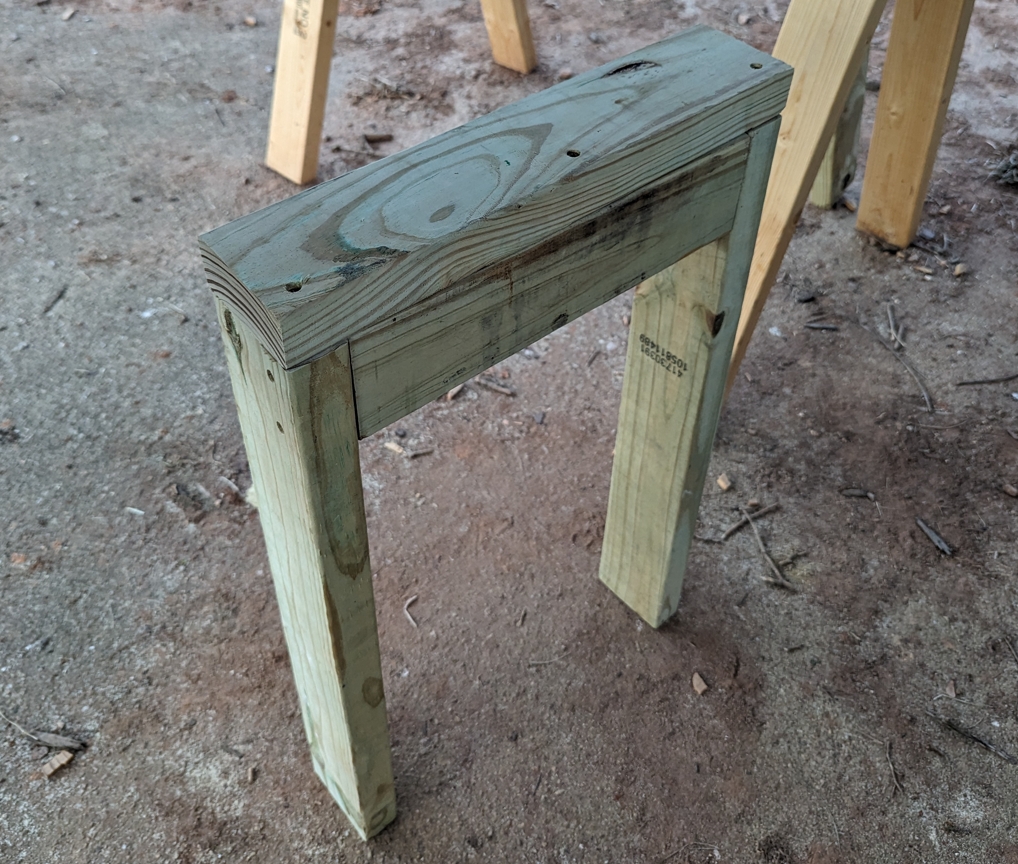
We then need to attach a Top piece with the Legs we just assembled. We use three screws for this joint and again, pre-drill your holes to help stop the wood from splitting. I can’t emphasize this enough. The extra time it takes is more than worth it (for me) since lumber is expensive right now.
This was much easier to clamp together with the hardware that I have.
Take your time and line up the pieces so they will be as flush as possible. It doesn’t have to be perfect. We just want to keep things in place so the wood doesn’t wander while you’re driving in those screws. The pieces that are out of alignment can be fixed with a hand plane or some extra sanding time (I went with the later).
Cutting and Assembling the Inner Frame
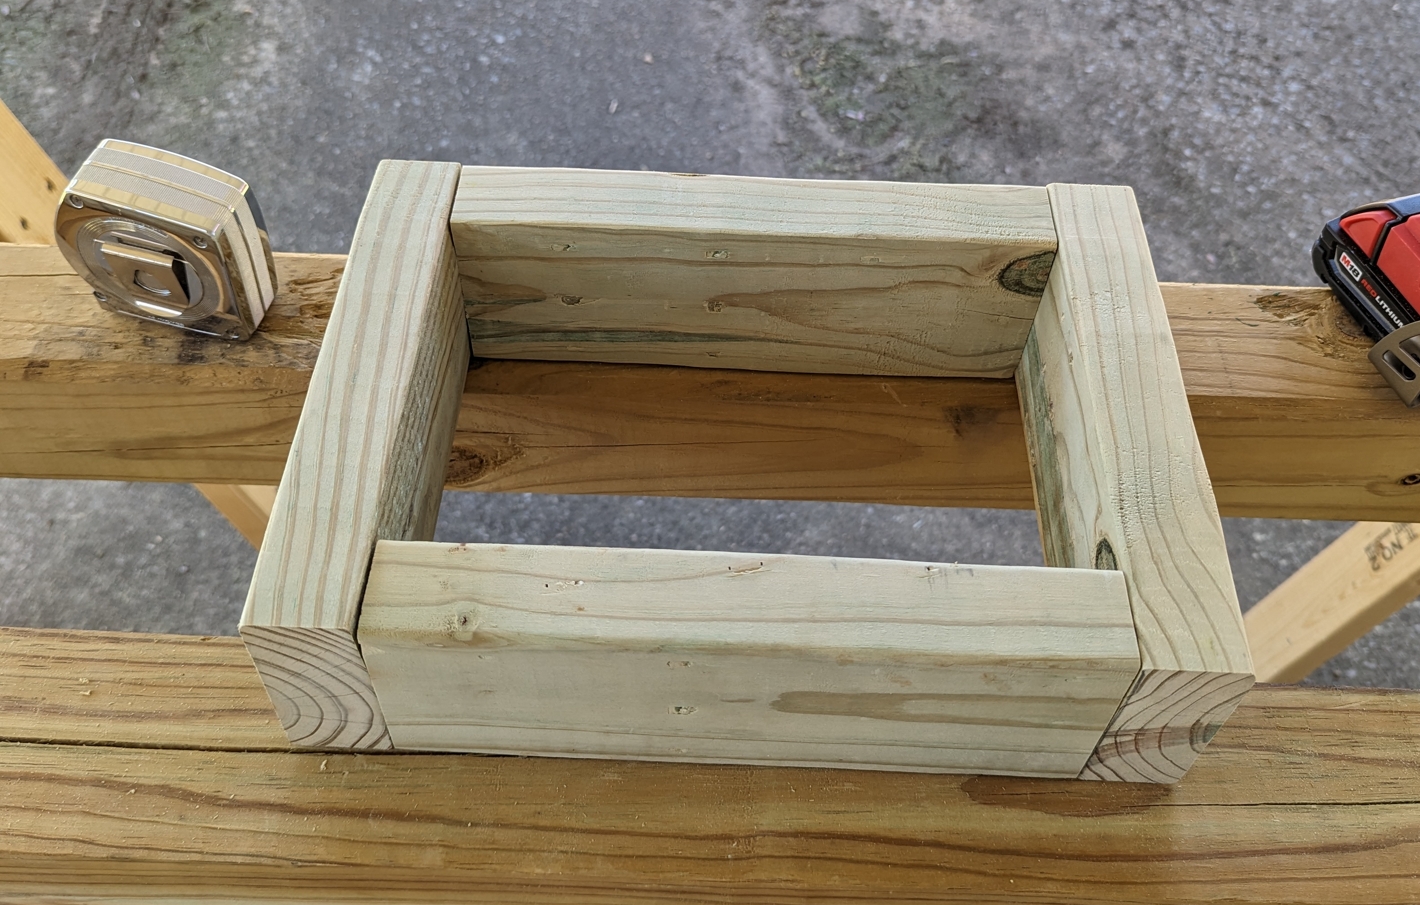
To assemble the Inner Frame we take the frame pieces that we cut and lay those out longways. Then we take our two Open Side Apron pieces, and set those at the ends. This is the piece that will combine the legs with the top. These will be attached with two screws per joint, so go ahead pre-drill your holes again and then clamp them together if you’re able to.
I found that treating this like another set of legs was best.
So I clamped two pieces together and secured that joint. Then I added the other Inner Frame piece and drilled those screws in. I followed this up by attaching the last Open Side Apron cap at the end with four more screws (again, two screws per joint).
Attaching the Inner Frame to the Legs
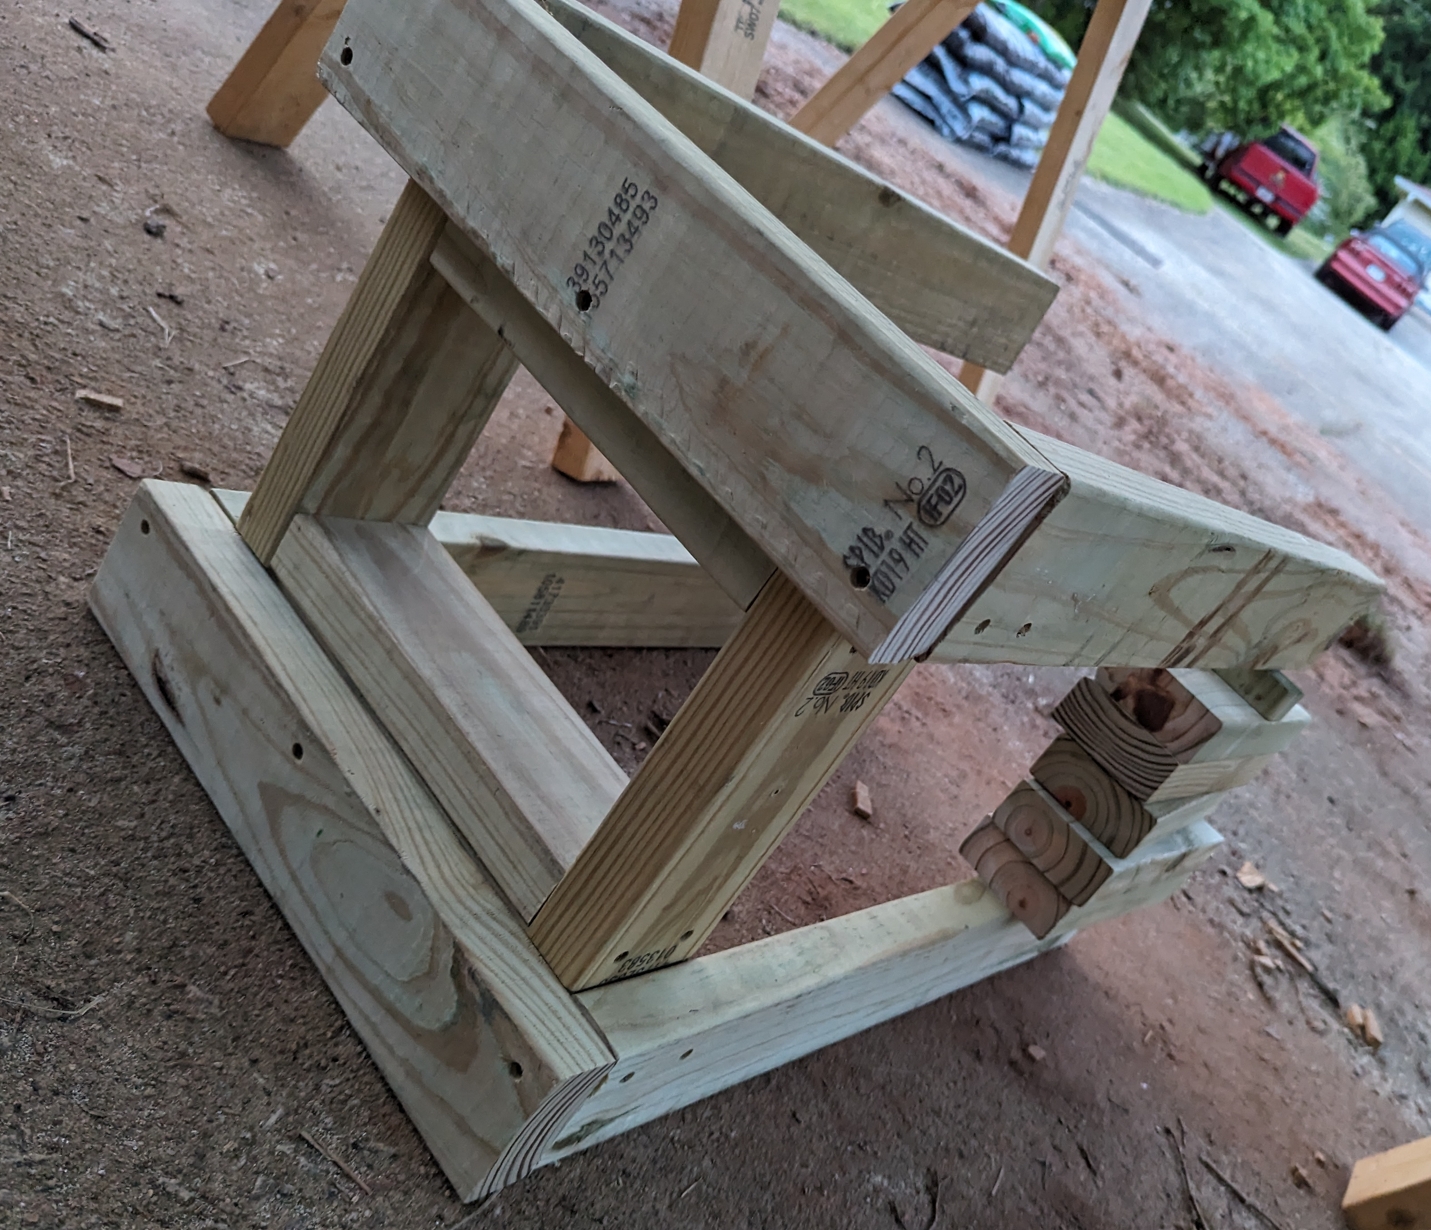
This part was the trickiest for me as it was difficult for me to line everything up. but I ended up setting a pair of legs down flat and then balancing the Inner Frame on top. This allowed me to set the other pair of legs on top (while helping to support them with spare pieces of wood).
We’re going to use four screws to attach a pair of legs to the inner frame.
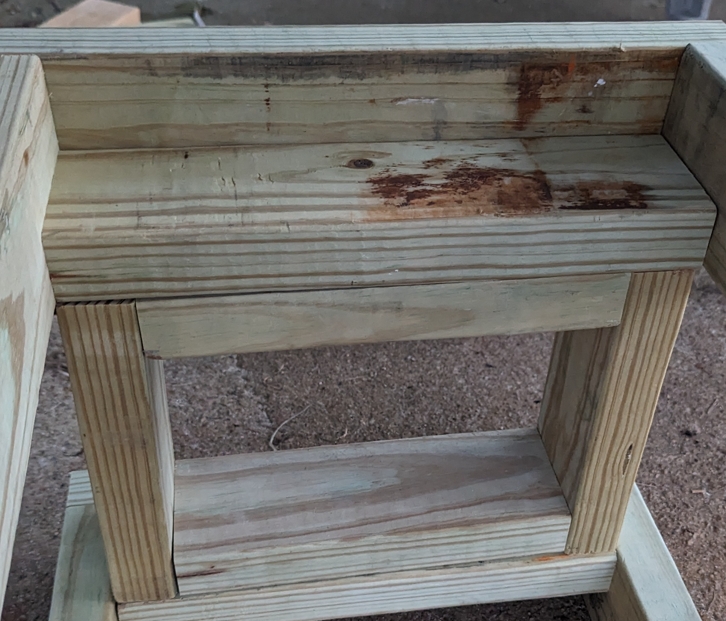
And I’m seeing people recommend that you angle the screws in different directions. As that should help to increase the strength of the joint. Again, take your time and focus on making sure the pieces are as aligned as possible. Feel free to save this image and reference it when you assemble your side table. The flatter the top is (due to better alignment) the better.
That will help keep your Top boards as flat as possible without the need of using a hand plane (or extra sanding time).
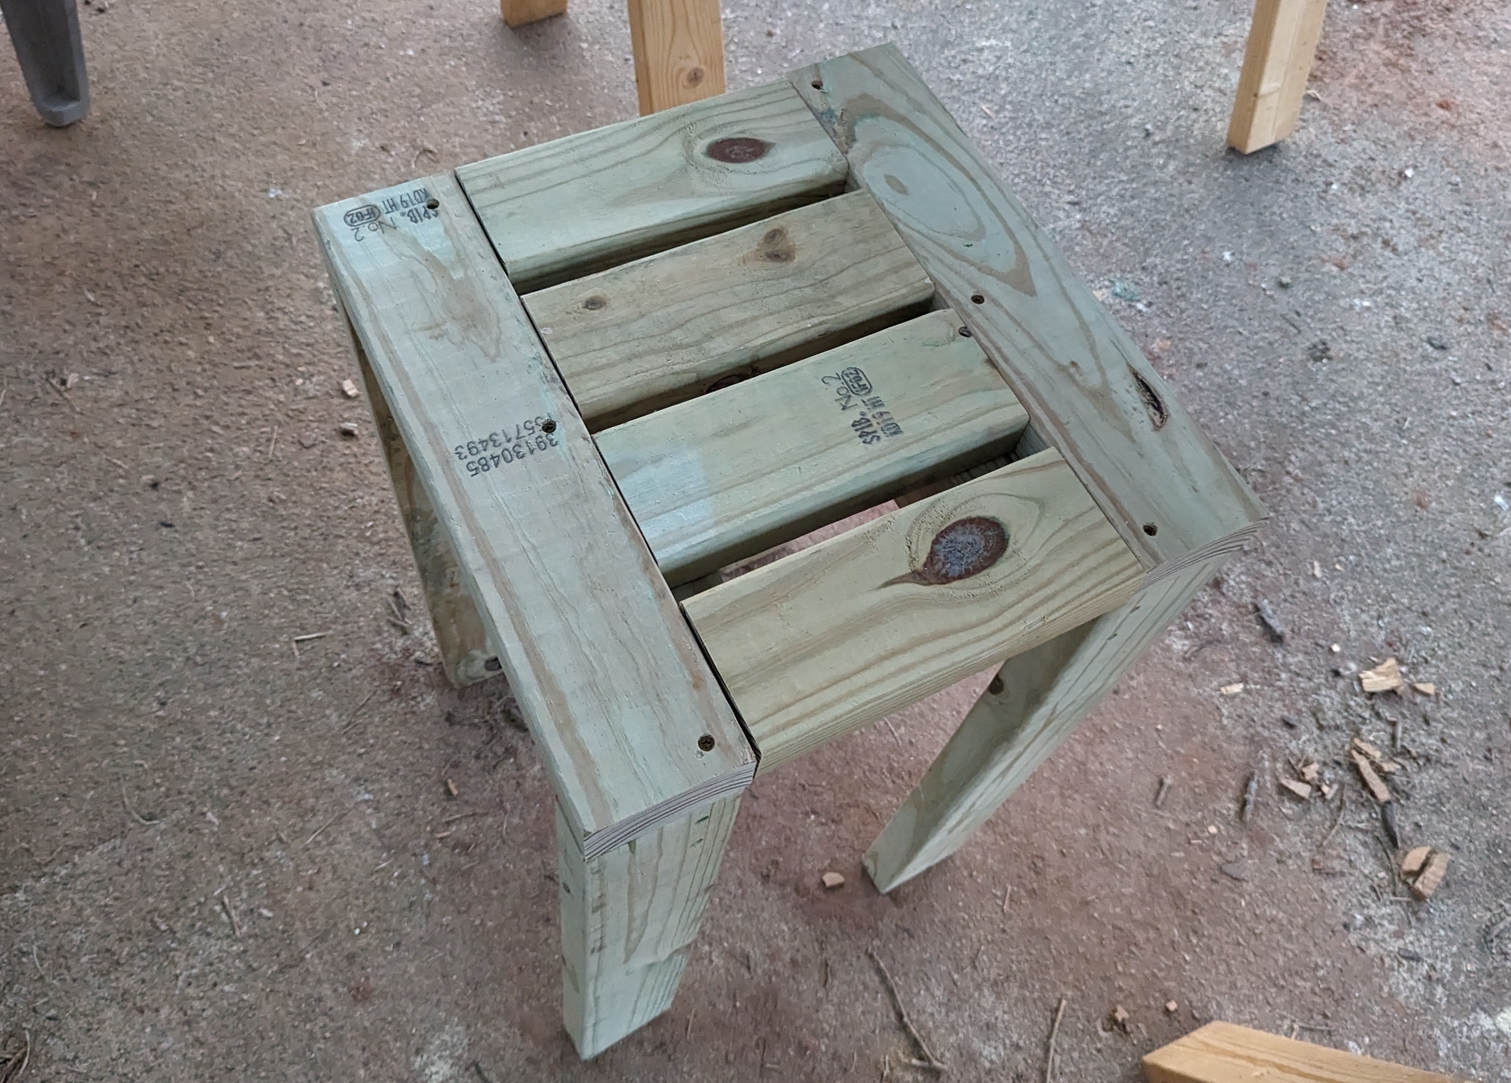
Attaching the Top Boards to the Inner Frame
We’re almost done! The last of the assembly requires us to insert our Top boards to the Inner Frame. If you were like me, the boards were already cut but I had yet to pre-drill them. I wanted to wait and make sure they fit properly so I would know where the holes needed to go.
We’re using two screws per joint to save a bit of money, but you could use four if you wanted additional strength.
That may even be needed for larger side tables. I felt that two screws were enough since they won’t be moved around that much. The other Top boards are secured enough to hold things together if you really needed to move it around a lot.
Our little side table only required four boards along the top, but again, yours may require more if you wanted it to be larger. Just space them out evenly and drill in the screws to complete the build.
Sanding and Finish
Again, we’re going to take the time to sand these things down. We went with a green wood stain for these, that will be slightly lighter than our Outdoor Bench. We have two of them that will sit on either side of the bench that should help to fill out our front porch.
You could go with an exterior paint, though, if you had a specific look in mind. The important part is to make sure the wood is sealed properly so that it will last.
